RaspiCAR : a robot car with Raspberry and Legos
I always wanted to make my own robot to eradicate human race, but i've never had time :)
Why ? as a software engineer, hardware is obsiously more complex to debug and integrate than softwares.
But nowadays platforms like Raspeberry and Arduino greatly simplifies integration and prototyping (Of course it remains prototypes, you will never print optimized multi-layer board yourself, so you will love wires !). Making a humanoid robot is far too complex : if you want a basic moving robot a car is a lot simpler.
I wanted to reuse some legos as well, because i initially thought it will be simpler (if you are a DIY addict it's not necessarilty true!)
So this article show you the first part of this project, whose purpose was to practice hardware components integration and to provide some manual control via a Web interface.
a small video !
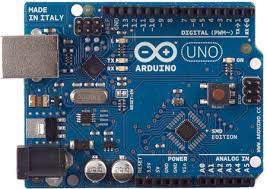
Hardware Part
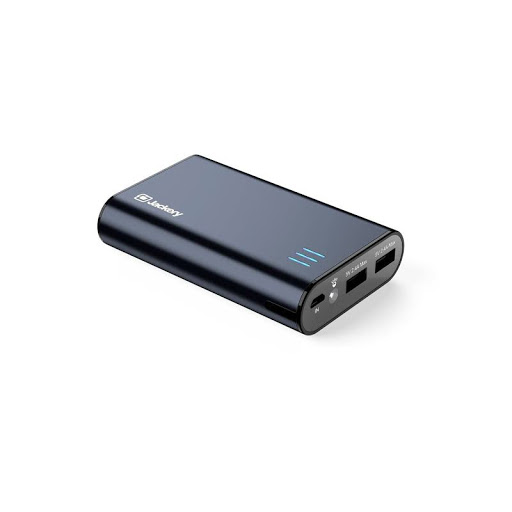
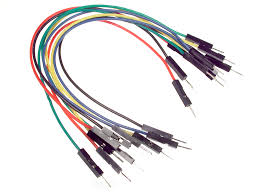
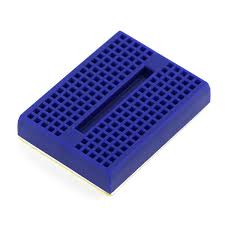
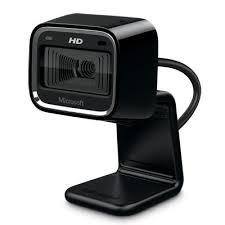
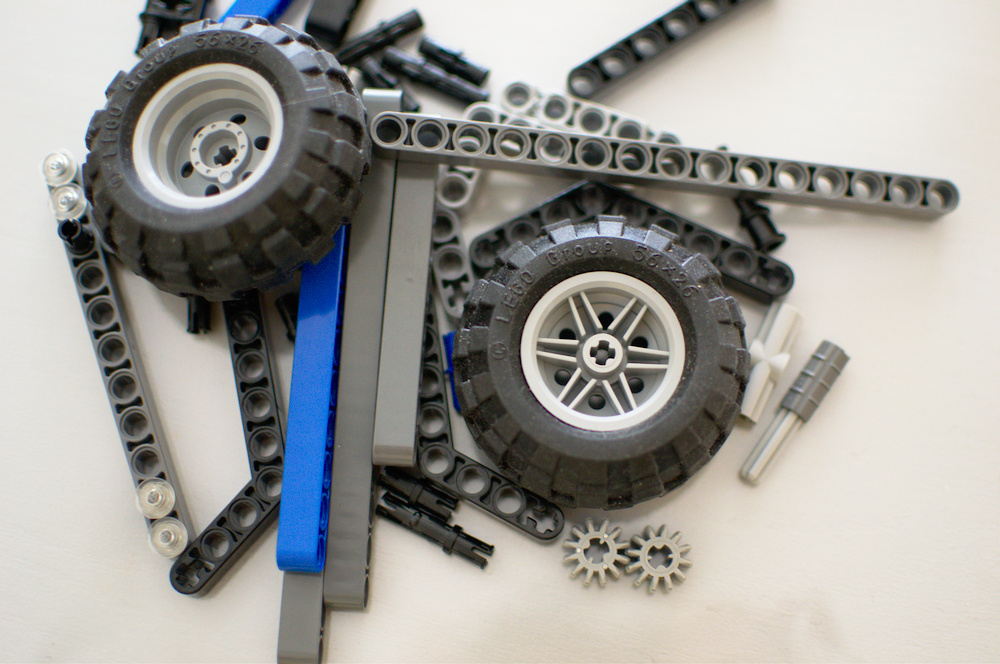
Components
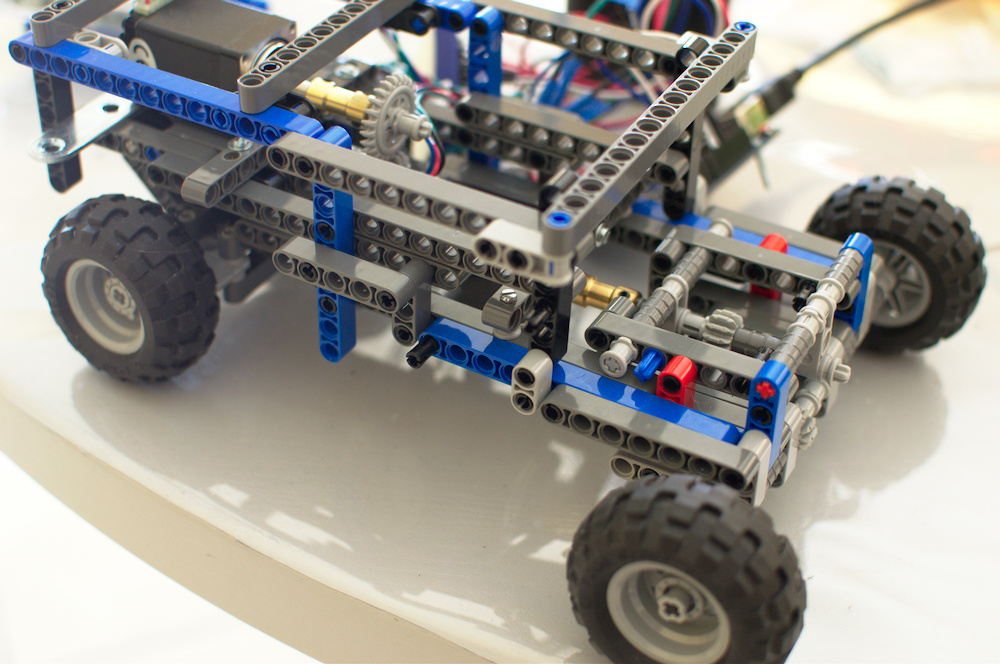
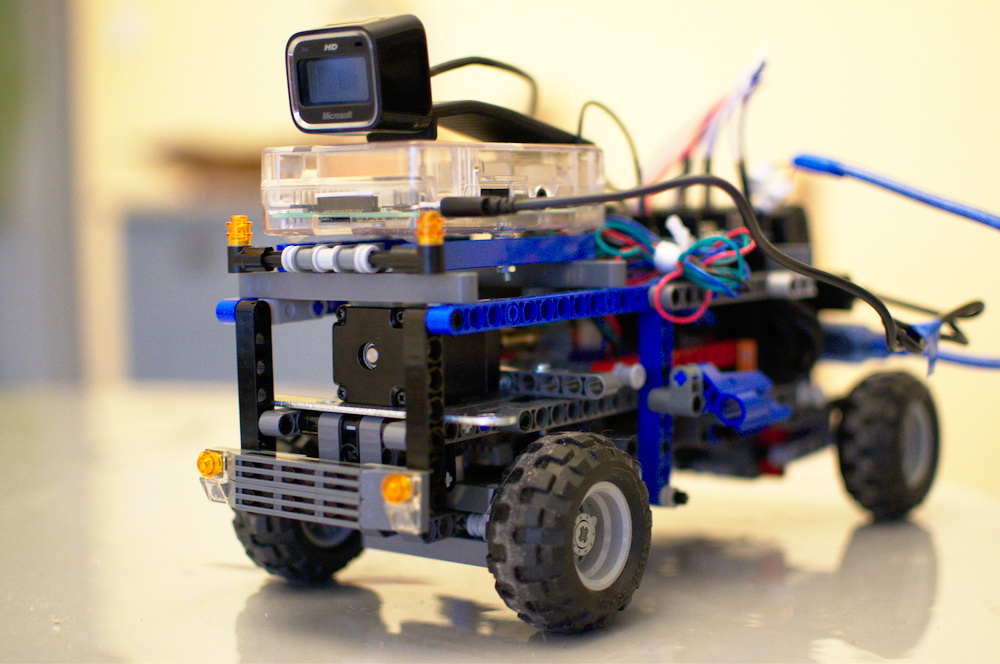
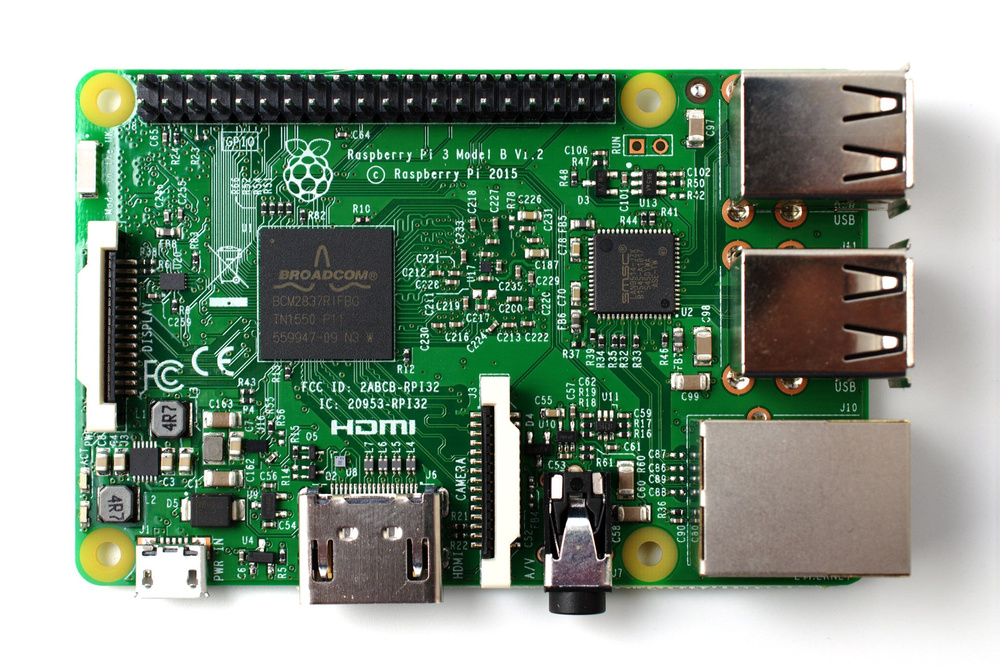
The components i used in this project. The overall costed nearly 150 € .


Schema

Why Legos ?
- Because with Legos you can build complex things easily :)
- Actually it’s not so easy to integrate with motors not made by Lego corporation ;)
- For a lighter car, i could have used some plexiglas Chassis and 3D-printed components. Maybe for another project.
Why not Lego Mindstorms ?
- I only used Lego Technic. You can already do cool things with Mindstorms, but i would have been limited for the next part. You can do even more cool things with custom components and Raspberry.
Weight
- Raspi Car weights 1200g . That is one beautiful baby :)
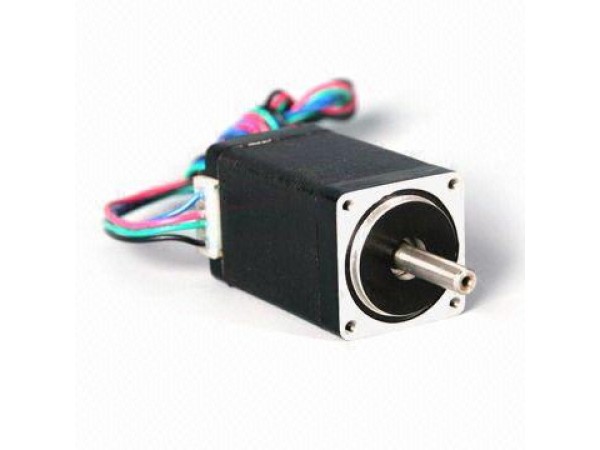
Motors and drivers
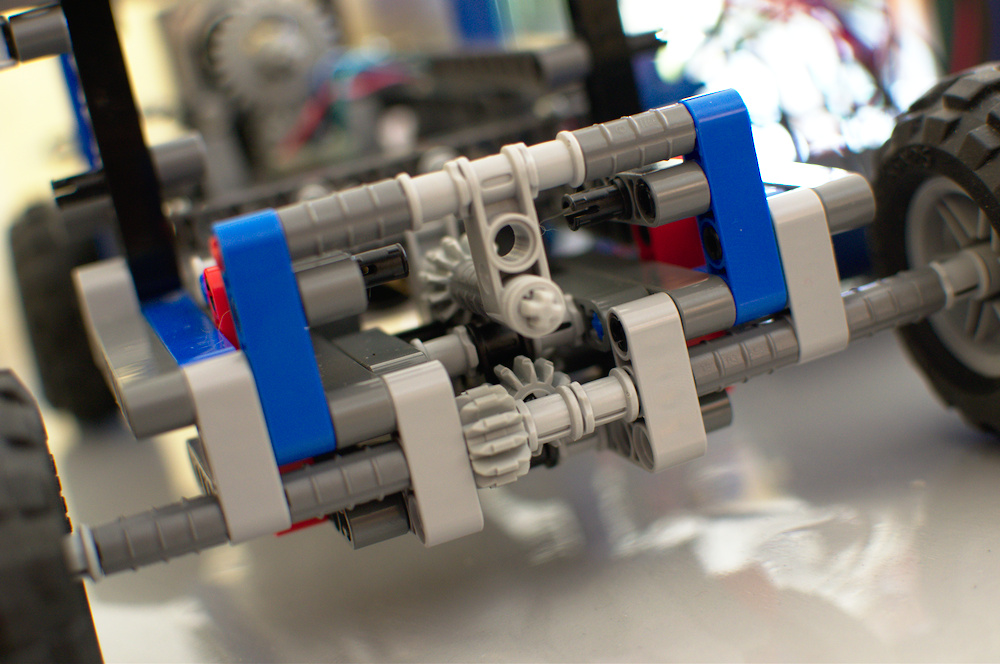
- I used two Nema Bipolar Stepper motors, one for steering and one for thrusting. Why steppers ? because i needed precision and high torque (because of the weight).
- I needed some lego gears to provide perpendicular transmission and to increase torque.
- Each Stepper Motor is controled with a DRV8834 stepper driver board, in order to simplify the arduino code and to safely limit the supply current.
- I tweaked the limit current as described on data sheet on the Pololu Site, using Vref = Imax / 2. As Nema max current is 670mA, Vref of the driver should be 335mV. From now i can provide higher voltage to motors without damage.
Software Part
Arduino Side
- Arduino Job consists in listening to commands on the USB port and driving the steering and thrust motors
- There are several ways to implement Arduino/Raspberry communication (I2C bus, SPI, Serial). I just choosed the easier :)
- Driving motors is done via the AccelStepper library : http://www.airspayce.com/mikem/arduino/AccelStepper/. I tested hardware PWM but it didn’t fit my need : you can only control one stepper and frequency is very limited. So i used this sofware library. CPU usage is good enough if you dont exceed 5000 steps/seconds.
Raspberry Side
- Raspberry Job consists in providing a Wifi communication, a web interface, and video streaming.
Web UI & communication layer
- Web UI relies on Flask python Library on server-side, and jquery/ui on client-side
- client and server communication rely on WebSocket and Flask-socketio library with Eventlet engine
- python3 and flask are already bundled with raspbian distribution. But you need to manually install the socketio and eventlet :
sudo pip3 install flask-socketio
sudo pip3 install eventlet
video streaming
- I first tried ffmpeg and motion libraries but delay was too high (> 500ms).
- I ended up using mjpeg streamer as decribed in this nice article https://jacobsalmela.com/2014/05/31/raspberry-pi-webcam-using-mjpg-streamer-over-internet/. It’s more image capture than video streaming but framerate is good enough (5 to 10 fps) and delay is much better (100ms).
source code & deploy
- https://github.com/gpicavet/raspicar
- deploy car.uno to Arduino
- Then on Raspberry you have to start ./start_mjpeg.sh and ./raspicar.py
what’s next ?
Next Part is really Challenging : take the full power of the raspberry “brain” and make the car smarter :).